HOW TO CHANGE THE DIFFERENT FULL SCREEN MODES – PC SOFTWARE

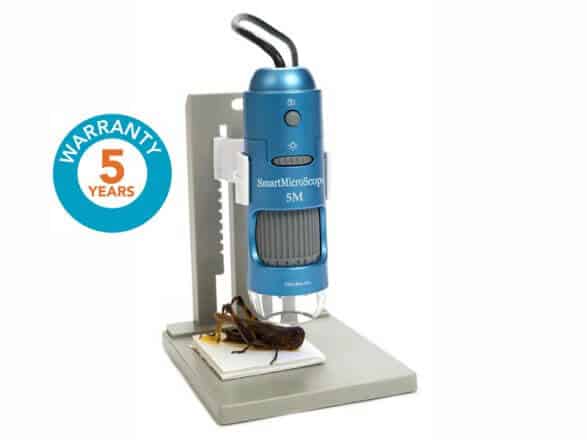
- Connect the SmartMicroScope to the USB port and then open the SmartMicroScope Viewer PC software.
- Using the function keys at the top of the SmartMicroScope Viewer Click on the Gear Icon Tool
| 3. The Video Setup Window will open. 4. You can now change the Full Screen Mode to A. 4:3 for computer monitor B. FULL to fill the screen with the image C. ICON to display the large image and toolbars. NOTE: To have the software open in full screen mode, check the “Full Screen Mode” box. The PC software that comes with the SmartMicroScope, SmartMicroScope 5M, SmartMicroScope 500 & SmartMicroScope 5M-500 are very similar and function the same. |
- When in Full Screen Mode you can press the ESC button to return to exit full screen mode.


Can you be more specific about the content of your article? After reading it, I still have some doubts. Hope you can help me.
I don’t think the title of your article matches the content lol. Just kidding, mainly because I had some doubts after reading the article.
I don’t think the title of your article matches the content lol. Just kidding, mainly because I had some doubts after reading the article.
Vom klassischen Poker bis zu modernen Slots gibt es viele Spielmöglichkeiten. Besonders beliebt sind sichere und schnelle Zahlungen, weshalb Picks der Experten: Online skrillcasino.de oft empfohlen werden. Jede Variante spricht unterschiedliche Spielertypen an und bietet einzigartige Erlebnisse.
https://joyorganics.com/products/delta-9-thc-tincture-citrus are a advantageous and enjoyable means to quarter cannabidiol without the high. Multifarious people make use of them to easiness emphasis, improve rest, or stand up for complete wellness. The effects most often begin within 30–60 minutes and can last championing disparate hours. You’ll find options with melatonin, vitamins, vegan ingredients, or no added sugar. They turn out in a series of flavors and strengths. It’s finery to start with a critical dispense and every time chip representing third-party lab testing to guarantee grade and safety.
Thanks for this clear and concise guide! The different full-screen modes can be a bit confusing at first, so this breakdown is really helpful. Slot Anti Rungkad ARETABET
Great article. I didn’t realize you could use the ESC button to exit full screen. It makes switching back and forth so much easier. Slot Demo Gratis ARETABET
I don’t think the title of your article matches the content lol. Just kidding, mainly because I had some doubts after reading the article.
The world of gambling offers many paths: poker, sports betting, roulette, and slots remain timeless favorites. Online platforms norskhavservice.no expand these opportunities further. Among them, raske casinoer provide fast and efficient withdrawals. This convenience makes them popular while ensuring gamblers can focus on entertainment, strategy, and the possibility of winning.
Your article helped me a lot, is there any more related content? Thanks!
Reading your article has greatly helped me, and I agree with you. But I still have some questions. Can you help me? I will pay attention to your answer. thank you.
Thanks for sharing. I read many of your blog posts, cool, your blog is very good.
I don’t think the title of your article matches the content lol. Just kidding, mainly because I had some doubts after reading the article. https://www.binance.com/de-CH/register?ref=W0BCQMF1